

When I saw Skip to My Lou was doing a teacher appreciation theme this week I was inspired. Teacher appreciation week is May 2-6, with May 3rd as the actual official day. Grace is only two so she doesn't have a teacher yet but as a child with a language disorder, she does have a speech therapist/speech teacher.
Sarah, our SLP, comes to the apartment once a week with a giant bag of toys. We have tons of toys here of course but there's something magical about toys coming from Sarah's bag. Even Mr. Potato Head, Grace's favorite, is more fun if it's from Sarah's bag.
I always smile when Sarah brings out the toys, too. She keeps each one in a gallon zip lock baggie. A beat up, barely holding the pieces baggie. It's time for an upgrade, particularly for Mr. Potato Head. He's Grace's favorite and as such, he needs a home of his own. I think Sarah will appreciate this gift, too. It's something she can use every day, it's machine washable, and it's a heck of a lot cuter than those raggedy plastic baggies. Plus, she'll be able to find it in her bag faster--that bright green with white polkadot fabric really stands out!
Creating storage bags for toys is nothing new but I thought I'd share this idea for the teachers/therapists in your life who might need a bit of an upgrade & my take on the Mr. Potato Head storage bag.
Love the bag but hate to sew? Contact me to custom order at http://www.facebook.com/FeltFoodKids
Materials
cute fabric for bag (mine is 11 inches x 28 inches)--bigger if you want to hold more than one
scrap of brown material for body
scraps for the other parts
wonder under (used in applique process)
ribbon or cording for the drawstring bag
pattern (see below)
Instructions
1. Wash & dry all fabric you're going to use. You don't want it to shrink after you've worked so hard on the project!
Tip: I always wash & dry all my fabric when I come home from the store, then put it away. That way it's ready to use whenever inspiration strikes.
2. Cut out pattern pieces. Trace onto the smooth side of wonder under. I use pen but I've used pencil before, too. Just don't write on the bumpy side and don't cut the shapes out yet. Cut around the shapes, leaving a nice margin.

3. Following manufacturer instructions, iron wonder under to your fabrics. You know, brown for the body, white and black for the eyes, etc. I find it's best to then peel back a little of the paper backing off right away just to get it started, then I cut the shape out before pulling the paper backing off all the way.

 |
| Peeling backing off a little before I cut out the shape so it's easier to peel off later. |
 |
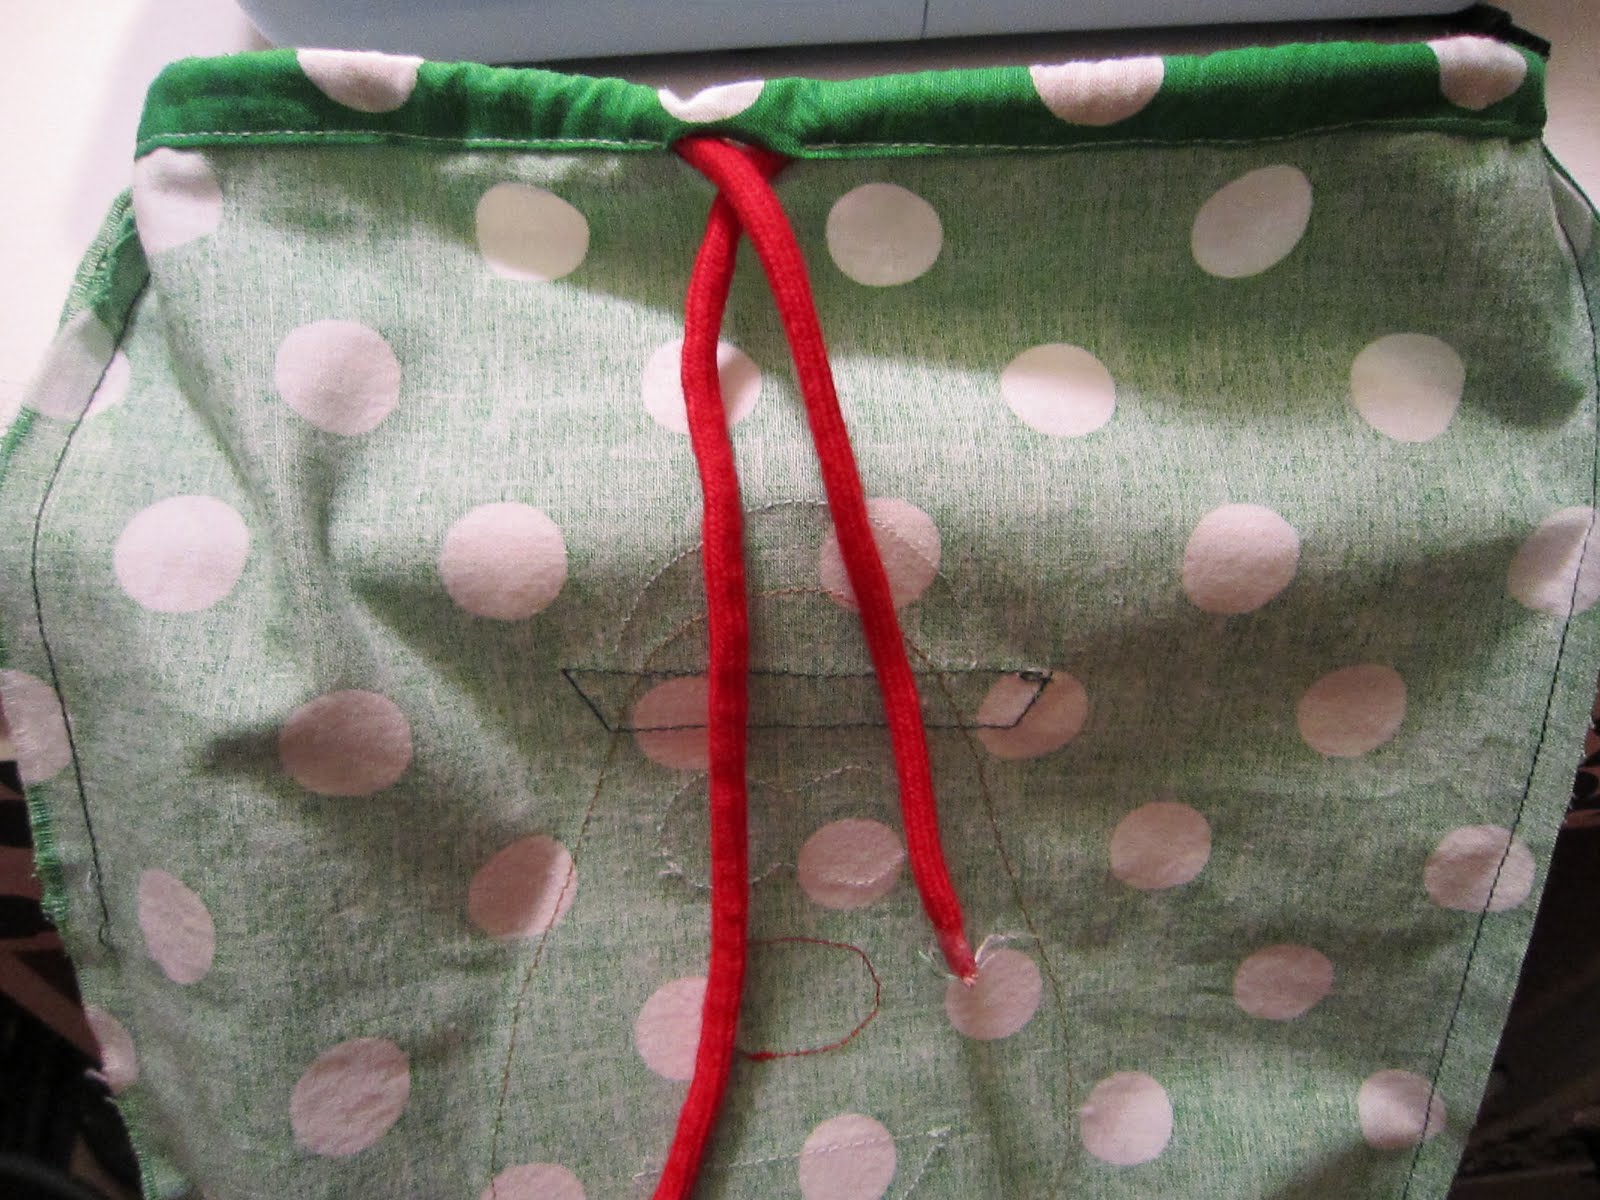
| At the top you can see I selected cording as the drawstring for this bag. I got mine in the ribbon by the yard section of JoAnn's this week for less than $2. |
6. Stitch around the potato head. You can use a tight zigzag or applique stitch around the edge or straight stitch like I've done. The fabric will fray over time up to the stitching line but I think that it looks cute when that happens.
7. Repeat the process. I started with the nose, then eyes, etc. I used a permanent black marker to draw the pupils since they are so small.


I've heard wonder under can hold without the stitching but I didn't want to risk it with as much use as this bag will get!
Instructions to Make the Bag:
1. Fold fabric in half, right sides together. Sew a seam down each side. I used the edge of my foot as a guide.

2. Make the casing for the drawstring/cord/ribbon. There are several techniques to do this but I use the fold over 1/4 inch, then fold over again so the casing is plenty big for the cording and stitch a seam. Be sure to leave an opening for the drawstring to go in!
 |
| Folding over about a quarter of an inch. |
 |
| Folding over a second time to make casing big enough for my cording. |
 |
| Leave an opening to push the drawstring through! I left mine in the front center of the bag. |
4. Great job! I chose to have the cord strings on the inside of the bag so they didn't get stuck on all the other items in the SLP's bag. Feel free to do it the opposite way if you prefer. I tied a knot in the ends of the cord so they couldn't slip back through. Just turn the bag right side out & you are finished!
|
| Ta da! |
 |
| Enjoy! |

No comments:
Post a Comment